
Sounds rather odd - doesn't it ?
Well - I wanted to make a bundt cake to take to work on Saturday. Apart from making a banana monkey bread recently - I haven't used my bundt moulds in aaaaages.
I looked on http://www.allrecipes.com/ and this one had one of the highest ratings and an astonishing amount of reviews. Over 100 actually...... so I thought I'd give it a go.
It turned out a really really nice cake. I think it would work equally as well substituting the sweet potato with butternut squash, pumpkin or even apple. I've deviated from the recipe a bit and replaced the butter with sunflower oil and doubled the spices.

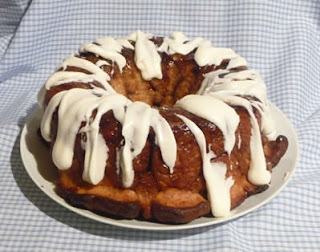
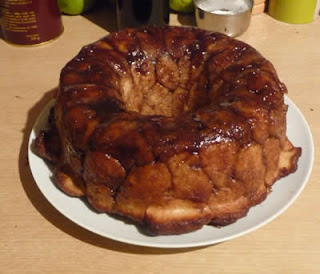
The glaze really is needed. You put it on when the cake it still warm and it sort of melts and drapes over the top. It also seeps in the bottom. This was eaten the day after the photos. There was easily enough for 14+ servings - it's a massive cake. The remains cut off the top to level before turning out were gobbled up by our turkey and chickens in the garden.
The leftovers have been dropped in to neighbours. I'm rather glad there isn't any sitting around here - it's so nice I'd HAVE to eat it !!!

Recipe
1 cup sunflower oil
2 cups granulated sugar
2 cups of cooked and mashed sweet potato
2 tsp vanilla extract
3 cups self raising flour
2 tsp cinnamon
1 tsp ground nutmeg
1 tsp bicarbonate of soda
1/2 tsp salt
Glaze
1 cup icing sugar
enough orange juice to make a paste
enough orange juice to make a paste
1 > 2 tablespoons organge zest
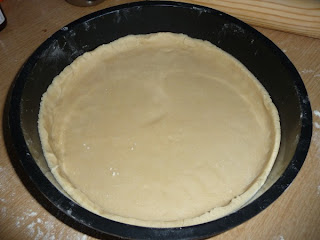
Preheat oven to 350 deg F / 175 deg C. Grease a 10" silicone tube / bundt pan.
Sift together the dry ingredients and set aside.
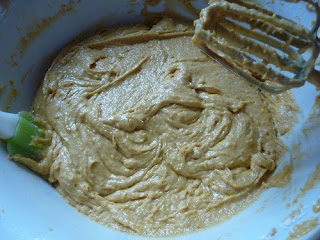
In a large mixing bowl, put in oil and sugar, sweet potatoes and vanilla. Beat to combine. Add eggs and beat in one at a time.

Add flour to above mixture and beat to combine at low speed. When taking beater out of bowl, make sure it's totally stopped rotating first - otherwise you'll spend the hour that the cake is in the oven cleaning the fridge, walls, washing machine.... you get the idea !!
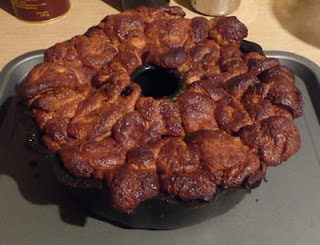
Pour into the bundt / tube pan and bake in oven for 1hour or until skewer comes out clean. Allow cake to cook in pan for 20 minutes before leveling and turning out.


In photo directly above this text to the left, the cake was red hot - straight out the oven. Far too early to turn out - but you can see how the silicone is just peeling away.
Spoon glaze over the top - it'll melt as the cake is still slightly warm and run down the sides.
There was PLENTY of mix. I think I had about a cupcake's worth that I didn't put in. I could possibly have made 6 cupcakes if I hadn't put all the mix in - as the chickens sure got a lot of cake !
Sarah-Jane http://www.siliconemoulds.com/ / http://www.naturalheating.co.uk/ - Feb 28th, 2010


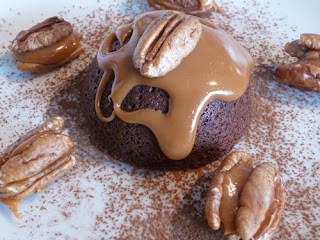
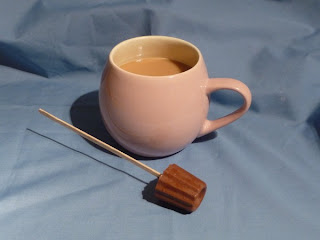.jpg) We got a super new fluted silicone bakeware mould in recently which is fantastic for chocolates or tiny canneles. You can see it here -
We got a super new fluted silicone bakeware mould in recently which is fantastic for chocolates or tiny canneles. You can see it here - .jpg)
.jpg)
.jpg)
.jpg)


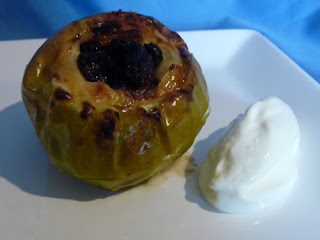


 Doesn't this look TOTALLY scrumptious ?
 INGREDIENTS - for the dough


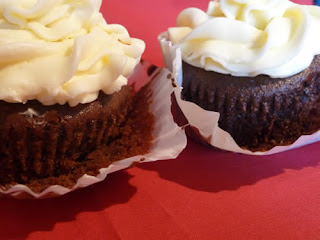
 It would have been really nice as it was, but to take it to another level - I smothered in in great dollops of cream cheese icing.